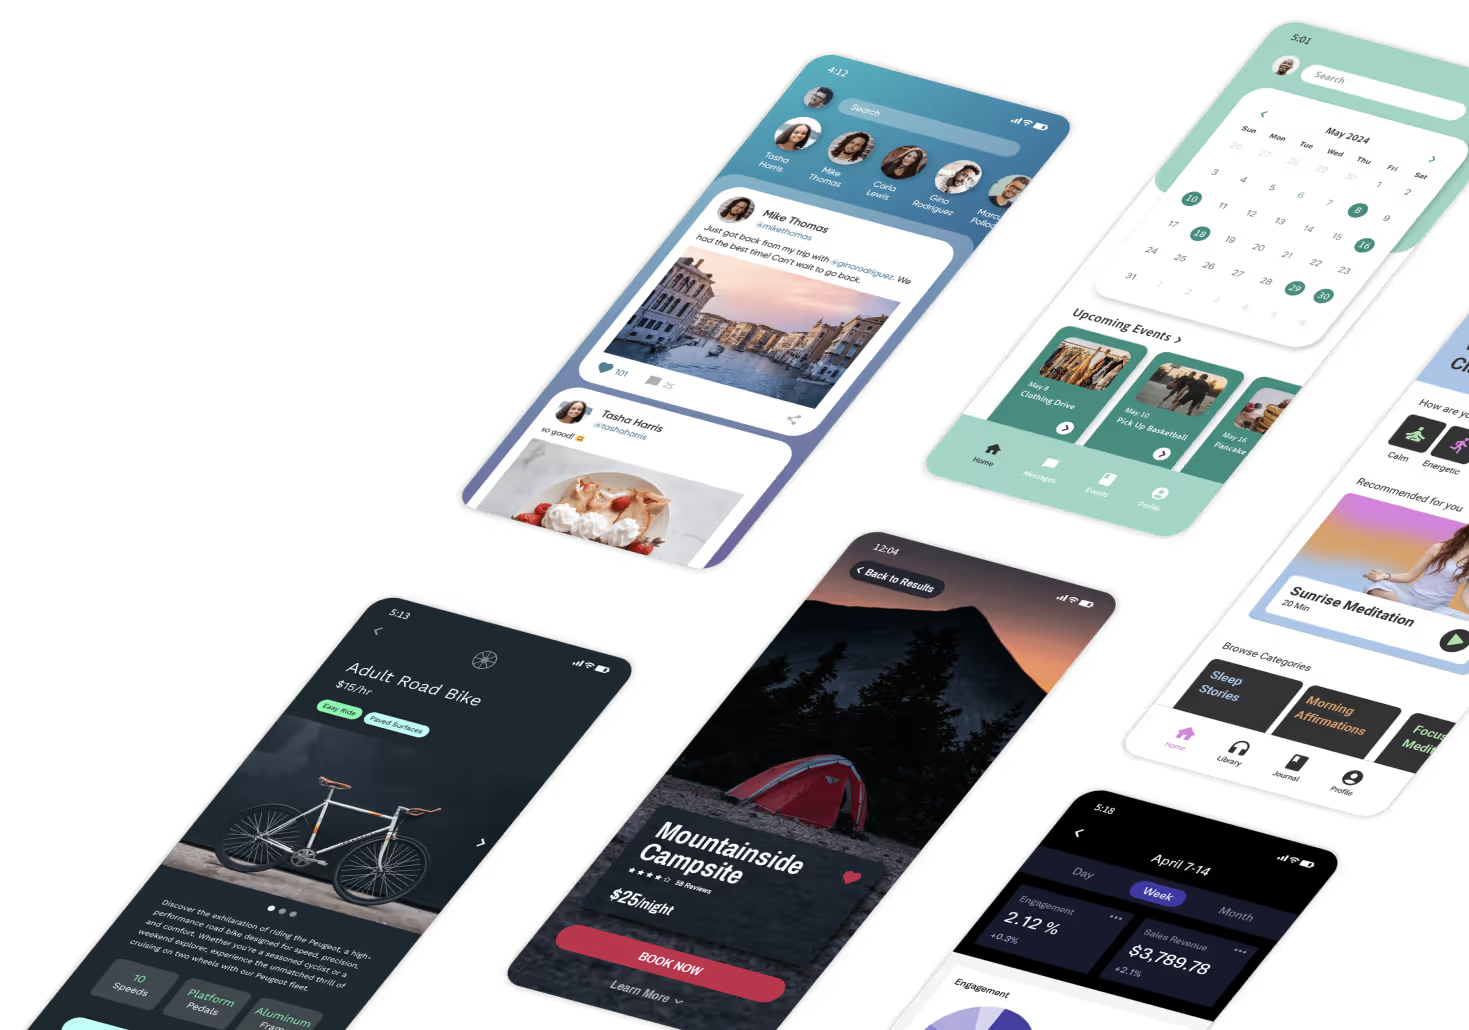
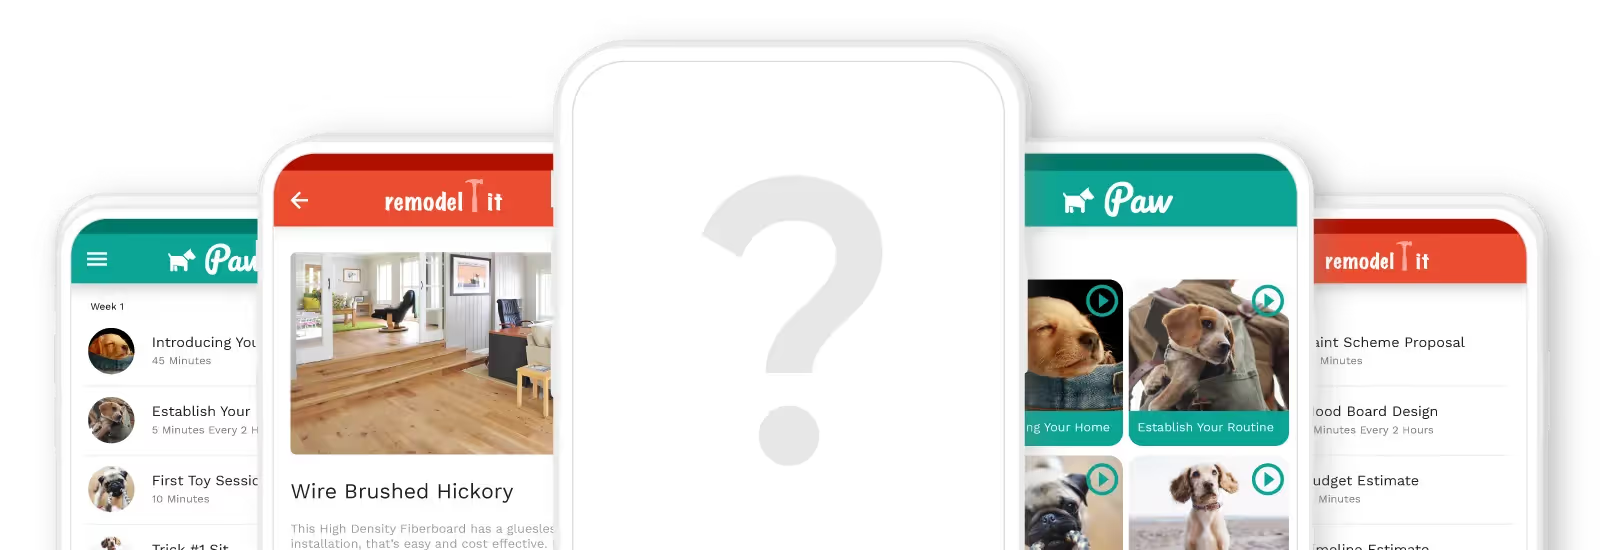
You’ve had an app idea that will make your life much easier. You’ve even told some friends and family about it; they’re stoked. They keep asking you when they’ll be able to download your app to their phone.
The problem is: You don’t know anything about computers, and understanding code is like trying to read hieroglyphics. But don’t worry - we come with good news.
Today, you can build your very own app without knowing any programming or coding skills. In this article, we’ll show you how.

What Do You Want Your App To Accomplish, and How Will It Look
You’ve had your app idea in mind for a while, but it’s time to get your idea onto paper. Grab a pencil and paper, and jot down your app’s specific functions and features. Doing this will clarify all your app's jobs and ensure you don’t forget to include anything.
Like an architect designing a building, you’ll need to create blueprints for your app’s design. You don’t need Rembrandt's skills - rough sketches that give you an idea of how your app will look are more than enough.
Your blueprints will help you figure out where you can place certain features. They’ll also enable you to design your app in a user-friendly way so people can seamlessly navigate through each function.
Select an App Builder
With your sketches and list of features by your side, it’s time to choose an app builder. A Google search will reveal dozens of app builders, making it a little tricky to find the right app builder for your needs.
Luckily, we love reviewing app builders and made sure the ones that made our list had the following features:
- No Code Only: The app builders that made the list require no coding, programmatic, or technical skills for building apps. They feature no-code, drag-and-drop interfaces with low learning curves, so you can start building your app straight away.
- Customizable Templates: All our app builders come with enough templates to suit any taste. After you choose a template for your app, you’ll also have the power to customize the template to how you want it to appear - add on features, logos, and other aesthetic elements to create your own unique app.
Adalo

Adalo has an easier learning curve than most other app builders. Its drag-and-drop interface is extremely simple to use - as soon as you sign up, you can start building.
Conveniently, Adalo also works as a website builder. Every feature you build in your app can easily be converted into a webpage. This can save you tons of time, as it kills two birds with one stone.
Features
- Adalo comes packed with over 5,500 integrations, so the amount of features and tools you can put into your app is nearly endless. Receive payments with Stripe, send text messages with Twilio, and create a booking system in your Google calendar.
These integrations will help you make your app function almost any way you want. The app-building world is truly your oyster when you choose Adalo.
- When you choose Adalo, you’ll get access to a database, meaning you won’t have to pay for a 3rd party database provider. Database access is essential for updating your app and creating new features. This feature will contribute to a better user experience (UX) for your app users.
- After you finish building your app, Adalo lets you publish it in the Apple App Store, the Google Play Store, or your very own website. This capability will make getting your app super easy, allowing you to reach a wider audience.
Glide

Glide’s drag-and-drop interface boasts a super fast response time, letting you build your app quickly and without interruption. When you finish building your app with Glide, you can send it to people who’ll be using it.
This makes Glide a great option for businesses that need to build an app for running internal operations and rapidly distribute it to each team member.
Features
- Glide comes with a powerful AI tool that will help you organize your data, assist you with building your app, and much more. As a special treat, Glide’s AI tool is easier to use than most AI tools, letting you cobble your app’s features together fast.
- If you need to create workflows for your team, Glide’s got you covered. For instance, use Glide to track product life cycles starting from new inventory arrivals, conversion into new products, and point of sale. Glide can keep your business organized and humming.
- Glide comes integrated into Google Sheets, Excel, and AirTable. Connections to these popular spreadsheet tools will allow you to create features and tools catered to your company data, which will help you meet goals with ease.
Pricing
Glide’s pricing starts at $49/month if you want to publish one app; if you need to publish more than one app, you’ll need to get Glide’s Team Version for $99/month.
Appy Pie

Want to build a super beautiful app? Look no further than Appy Pie. Appy Pie comes with over 10,000 customizable templates that allow you to design a jaw-dropping app. You’ll find the perfect template for your needs.
Features
- Appy Pie has features that will take your customer service app to the next level. You’ll be able to build out an automated chatbot that can automatically respond to simple customer requests. Create a live chatbot with a human at the other end for more complicated customer issues.
These features will help you organize customer service tasks with ease, giving you the opportunity to serve a greater number of people more efficiently.
- Appy Pie is a great choice if you're building an app you wish to scale. As more users download your app, you’ll be able to quickly add features to accommodate a larger user base. This can save you time and prevent growing pains when you’re expanding.
- If you want to integrate your app into an IoT device, you can do so using Appy Pie. Devices with IoT, or the Internet of Things, are appliances that connect to your mobile device. This connection lets you monitor data that is crucial to your business.
For instance, monitor data from refrigeration units, warehouses, and many more IoT-compatible devices from your very own app. This feature gives you an insane amount of control and oversight.
Pricing
For $30/month, you can build apps that execute a total of 50,000 tasks. But if you need to complete more business processes, you can get Appy Pie’s Business Version for $80/month.
All our no-code builders come with a free version or free trial. We recommend trying each one to determine the best fit.
Build and Test Your App
Once you choose your no-code builder, it’s time for the fun stuff! Overcome any problems when you’re building by asking questions on the community message boards or consulting the many tutorials that each app builder offers.
Experiment with different integrations and tools. Before you put the finishing touches on your app, it’s time to run some tests. Keep the following in mind:
- Each feature and tool must function problem-free. If app users encounter issues, your UX will be poor, and very few people will want to use your app.
- Your app’s speed. The amount of time your app takes to execute tasks and process information is crucial to a quality UX. You need to make sure that your app always loads quickly and never freezes. When your app runs quickly, you’ll have happy users.
- Monitor your app’s analytics every day. Your app builder’s dashboard will come with a built-in analytics tool that will provide you with feedback about your app’s ability to function.
Ensure that your app puts up consistent numbers and isn’t lagging. When your analytics platform displays less-than-ideal numbers, address them immediately. Doing this will prevent problems and keep your app up to snuff.
When You’re Almost Done: Beta Testing
When you’ve got your app running like a well-oiled machine, it’s time for beta testing. During beta testing, several people will use your app. They’ll provide feedback for further improvement.
Here are a couple of platforms where you can get your beta testing started:
- iOS TestFlight: The testing platform of the Apple ecosystem, TestFlight lets you contact up to 10,000 testers to help you finalize your app. Enrollment in TestFlight costs $99/year.
- Google Play Beta Testing: This platform lets you test apps for Android. You’ll be able to contact up to 50,000 testers. For $25/year, you can use the Google Play Beta Testing service.
Both platforms let you contact the testers directly via email. When you reach a certain number of respondents, send them instructions for testing your app.
Your instructions can differ depending on what features you want to test. It’s a good idea to instruct your testers to provide feedback so you can learn how other people feel about your app. Use this feedback to improve your app.
You’ll be able to run an unlimited number of tests with each of the testing platforms.
Conclusion: Launch and Maintain Your App
After reconfiguring your app according to the tester’s feedback, it’s time to launch it! This is a major milestone, as you’ve finally transformed your app dream into a reality.
While you’ve come a long way, you’ll want to continue monitoring and maintaining your app daily. When you do this, you’ll be able to nip emerging problems in the bud, which will allow for a smooth user experience.
It’s also a good idea to add new features to your app so it stays up to date.
Taking an app from a simple idea to an actual tool for mobile devices takes dedication. When you follow our guide, you’ll find that creating your own app is not that hard, but it’s a very rewarding experience!


.png)
.png)
.png)
